Printing tips and how-to-resources
11
Dec
Article contents
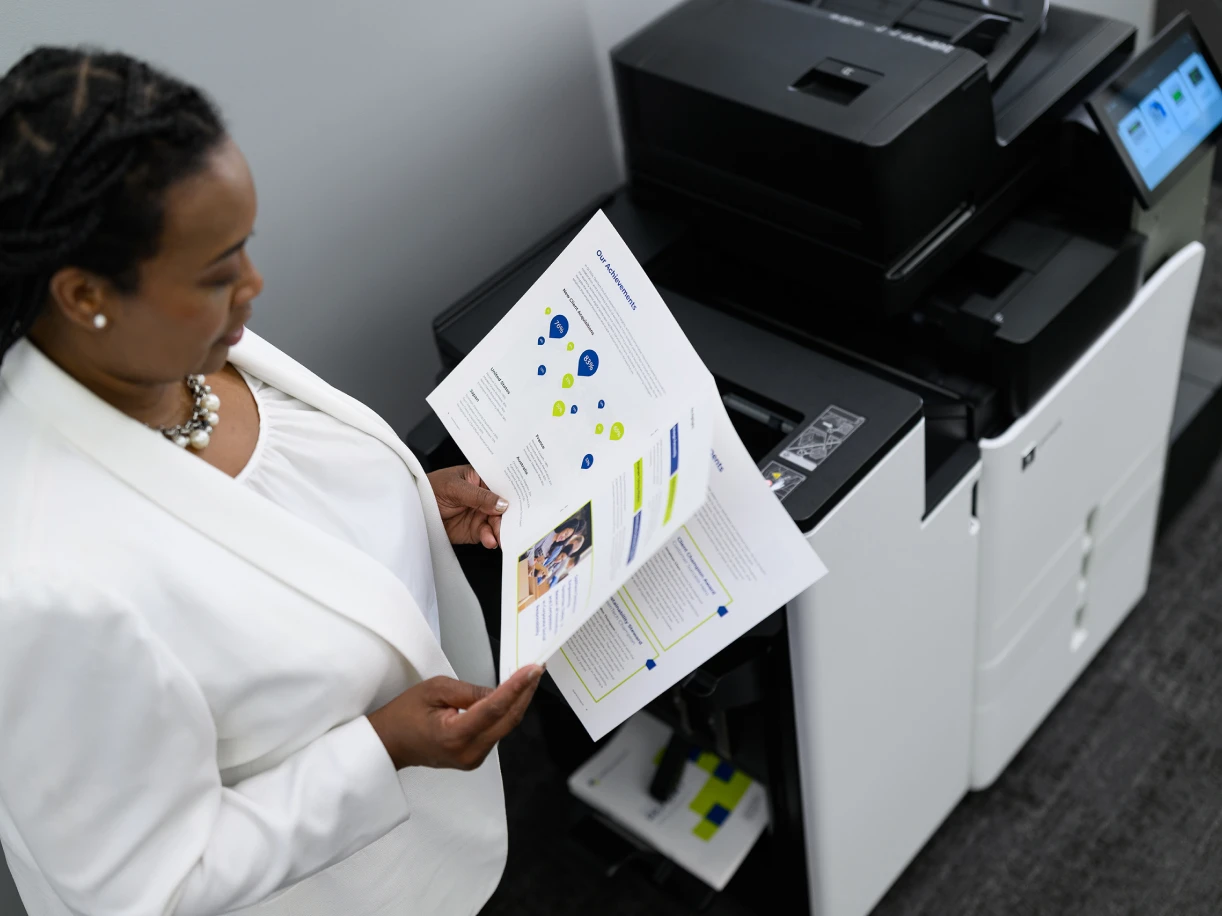
Print it right the first time
Buying a new printer can be exciting for any small business owner—especially when it’s a Lexmark GO Line ™ device. Easy to set up and quick to connect, our feature-packed laser printers and all-in-ones offer automatic two-sided printing and sharp quality straight out of the box.
Get the most from your printer—watch and learn how to print on both sides of the paper, print on labels and print on envelopes.
How to print on both sides of paper
On a Windows PC:
- Select “File,” then “Print.”
- In the print menu, select, “More settings.”
- In the new window, select the dropdown menu “Duplex Printing.”
- If “print double-sided” options are available, choose one:
- “Flip on long edge” – pages will print to be opened like a book (left to right).
- “Flip on short edge” – pages will print to be flipped like a notepad.
- Select “Ok” and then “Print.”
On a Mac:
- Select “File,” then “Print.”
- Select “Layout.”
- Select “Two-Sided,” then “Long-Edge binding”—pages will print to be opened like a book (left to right) or “Short-edge binding”—pages will print to be flipped like a notepad.
- Select “Print.”
How to print on labels
On a Windows PC:
- First, load your label paper into the manual feed.
- Open a blank Word document.
- In the top menu bar, select “Mailings” then “Labels.”
- Inside the “Labels” window, select “Options” and choose your label brand and product number you are using.
- Select “Ok” then enter the text you wish to print.
- Select “New document” to format the text.
- When you’re ready, select “File” then “Print.”
- Select “Printer properties” and go to the “Paper and finishing” tab.
- Under the paper type, select “Labels.”
- Then, directly below, change the paper source to “Manual paper” and select “Ok.”
- Select “Print” to send your labels to the printer.
On a Mac:
- First, load your label paper into the manual feed.
- Open a blank Word document.
- In the top menu, select “Tools” then “Labels.”
- Inside the “Labels” window, select “Options” and choose your label brand and product number you are using.
- Select “Ok” and enter the text you wish to print, then select “Ok.”
- Format the labels the way you like and select “File” then “Print.”
- Go to paper feed and select all pages from “Manual feed.”
- Select “Print” to send your labels to the printer.
How to print on envelopes
On a Windows PC:
- Load your envelope into the front manual feed of your printer.
- Open a blank Word document.
- In the top menu, select “Mailings” then “Envelopes.”
- Inside the envelopes window, select “Options.”
- Under envelope size, select the size of envelope you are using, then select “Ok.”
- Enter the delivery and return address you wish to use.
- Select “Add to document” and format the text the way you like.
- Select “File” then “Print” and then “Printer properties.”
- Under the paper and finishing tab, change the paper size to match your envelope size, then select “Ok.”
- Select “Print.”
On a Mac:
- Load your envelope into the front manual feed of your printer.
- Open a blank Word document.
- In the top menu, select “Tools” then “Envelopes.”
- Inside the envelopes window, select “Page setup.”
- Under paper size, select the size of envelope you are using, then select “Ok.”
- Enter the delivery and return address you wish to use.
- Select “Ok” and format the text the way you like.
- Select “File” then “Print.”